
What to do when joists start moving? Repairing and securing the floor.
Are the joists starting to move, and is the floor creaking or flexing? Find out how to identify the cause, repair loose joists and secure the structure for years to come.
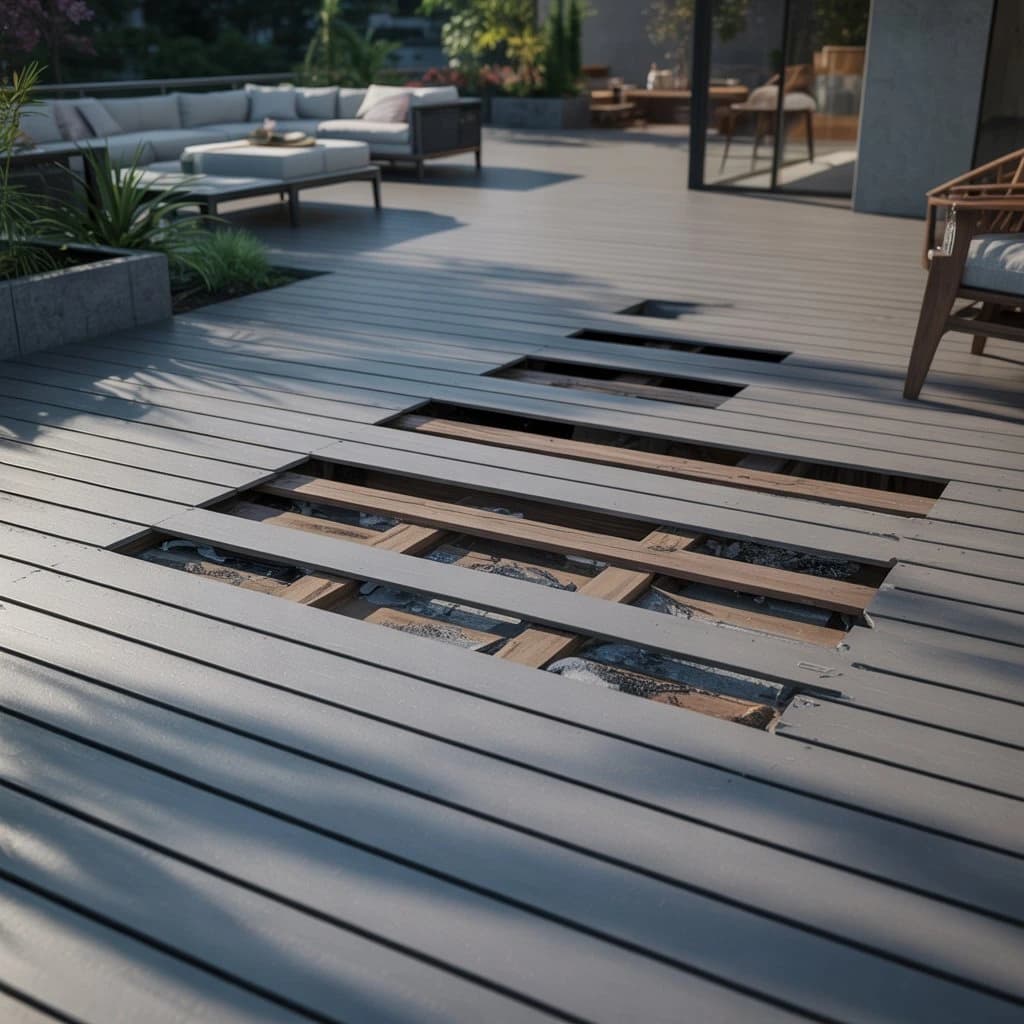
A floor that creaks with every step, noticeably bouncy boards or the feeling that the whole structure is slightly “floating” are signs you should not ignore. When joists start to move, the problem is not just about household comfort. It is often a sign that the floor structure is losing stability and needs prompt attention. In practice, moving joists can lead to increasingly large gaps, damage to the floor decking, cracked joints and, in extreme cases, even weakening of part of the ceiling structure. The good news? In many situations, this can be remedied without completely dismantling the floor. The key is to diagnose the cause correctly, choose a suitable repair method and protect the timber so that the problem does not return in a few months. In this guide, I explain why joists move, how to identify the source of the problem, and which solutions work best for repairing and stabilising a floor.
Why do joists start to move?
Before you start repairs, you need to identify the cause. Otherwise, it is easy to remove the symptom without solving the problem itself. Then the creaking or bouncing will return sooner than you think. There are four common causes.
1. Timber drying out and shrinking.
Timber is constantly moving. It reacts to air humidity and temperature, so over the years it can shrink in volume. If the joists were installed while too damp or were not properly seasoned, gaps can develop at the support points over time. This is when the floor starts making noises and the structural elements lose their former rigidity.
2. Worn or unsuitable packing pieces.
In older buildings, joists were often levelled using wooden wedges, pieces of board or makeshift packers. Over the years, these can shift, become compressed, crack or simply rot. The result is straightforward: the joist no longer holds its level securely and begins to move under load.
3. Poor workmanship.
Sometimes the source of the problem is not the age of the structure, but mistakes made during installation. Joists spaced too far apart, too few support points or a lack of suitable fixings can cause the floor to move too much. At first this may only cause slight creaking, but over time it can become a more serious structural problem.
4. Damp, fungus and wood-boring pests.
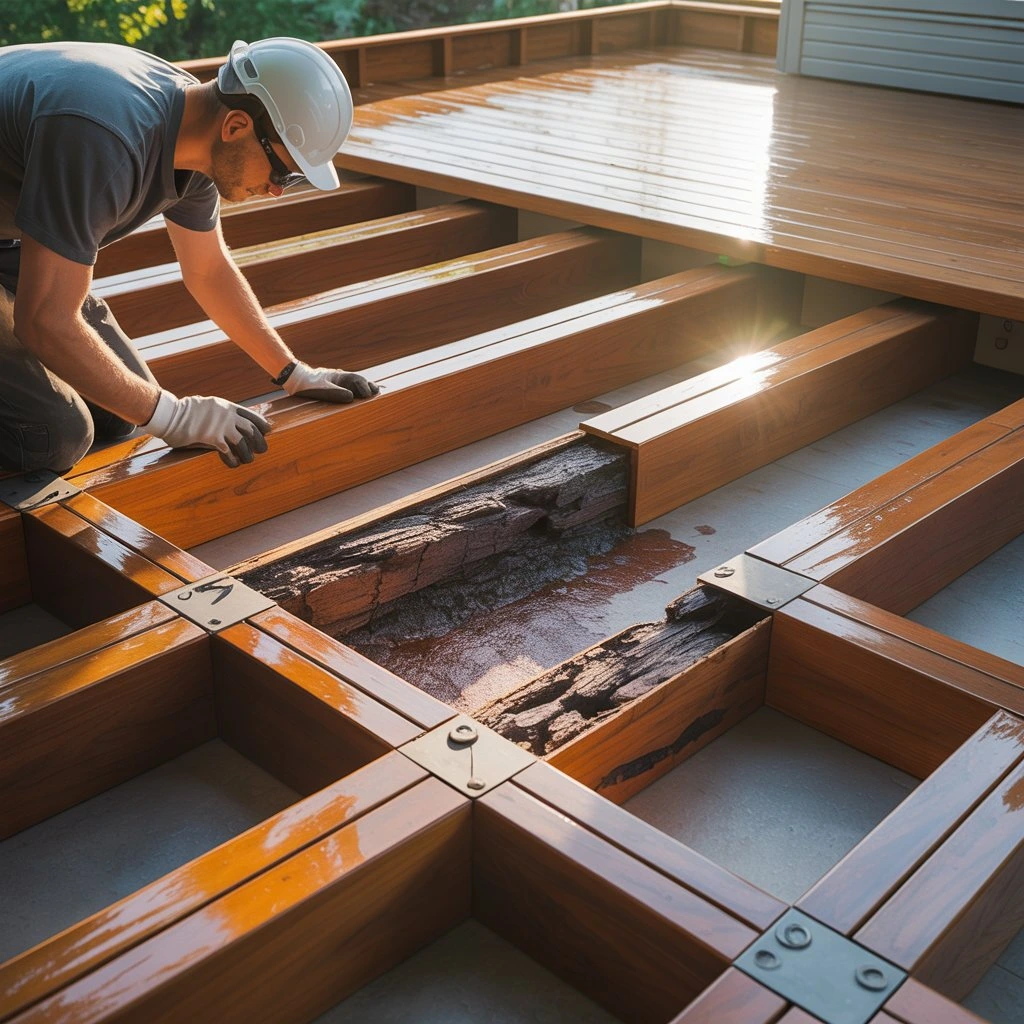
This is a scenario that must not be ignored. If the joists have been exposed to damp, they may have been weakened by mould, wood-decay fungi or wood-boring insects. In that case, the material is not only moving, but is actually losing its load-bearing capacity. If the timber becomes soft, crumbles or produces wood dust, more extensive repairs may be necessary.

How can you tell that the problem lies with the joists?
Not every creaking floor means that the joists have failed. Sometimes the only cause is loose boards or panels. However, there are symptoms that clearly suggest the problem lies deeper. Look out for signs such as:
- creaking in specific areas of the floor,
- noticeable flex underfoot,
- a “springy” section of flooring,
- uneven areas and dips,
- a knocking sound or a hollow space beneath the floor,
- furniture vibrating as you walk around the room.
If you notice several of these symptoms at once, the joists may need to be stabilised or reinforced.
How can you check the condition of the joists without lifting the entire floor?
Completely dismantling the floor is a last resort. Fortunately, you can carry out a simple assessment first.
Load test.Walk several times over the area that makes noise or flexes. Mark the area with masking tape. Check whether the problem is localised or affects a larger area. The more localised the symptom, the greater the chance of a local repair.
Glass of water test.This is a simple method you can try at home. Place a glass of water on the floor and walk past it. If the water surface shakes noticeably, the floor beneath is clearly moving. This does not provide a full diagnosis, but it is a good way to show where the structure is weakest.
Inspection from below.If there is a cellar, service void or suspended ceiling with access to the floor structure beneath the room, things become much easier. Simply observe the joists while someone walks across the floor. Look for gaps, signs of damp, cracks and distortion.
Checking the timber.If part of the structure is exposed, gently probe the timber with a screwdriver. Hard, solid timber is a good sign. However, if the tool easily penetrates the material, the joist may have been weakened by damp or biological decay.
Repairing moving joists – which methods work best?
The right solution depends on the cause of the problem and the condition of the structure. There is no single universal method, but several approaches are commonly used.
1. Tightening the floor decking.
When the joists themselves are sound and the problem is mainly caused by looseness between the boards and the structure, simply tightening the floor decking securely may sometimes be enough. Suitable wood screws are used for this, ideally chosen to pull the decking board firmly against the joist. This works well for a squeaky floor, but only if the joists are not rotten, cracked or unstable on their supports.
2. Shimming and filling gaps.
If the problem lies in gaps between the joist and the substrate or support point, packers and wedges can be used. It is best to use durable materials that are resistant to moisture and deformation. In modern repairs, plastic components or specialist technical packers work much better than wood. In some situations, suitable expanding foam is also used, but this must be done carefully. Not all foam is suitable for carrying loads, so it is better not to experiment with more serious repairs.
3. Strengthening joists by ‘sistering’ them.
This is one of the most effective methods when a joist is weakened, slightly bowed or too flexible. It involves adding a new wooden or steel member to the side, which takes some of the load and stiffens the whole structure. Strengthening joists in this way requires precise levelling and securely fastening the members together. Properly carried out, ‘sistering’ can significantly improve the rigidity of the structure without completely replacing the old joist.
4. Replacing damaged sections.
If the wood has been affected by moisture, fungus or insects, local reinforcement may not be enough. In that case, the safest solution is to replace the damaged section or the entire joist. This is more labour-intensive, but sometimes there is simply no shortcut. While carrying out this repair, it is worth checking the condition of the insulation and ventilation beneath the floor. These are often the real cause of the problem.
5. Adjustable supports and modern support systems.
Adjustable supports are increasingly used in newer projects and major renovations. They make it possible to set the level very precisely and support the joists securely. This solution is convenient, durable and resistant to moisture, so it works very well where old wedges have failed.
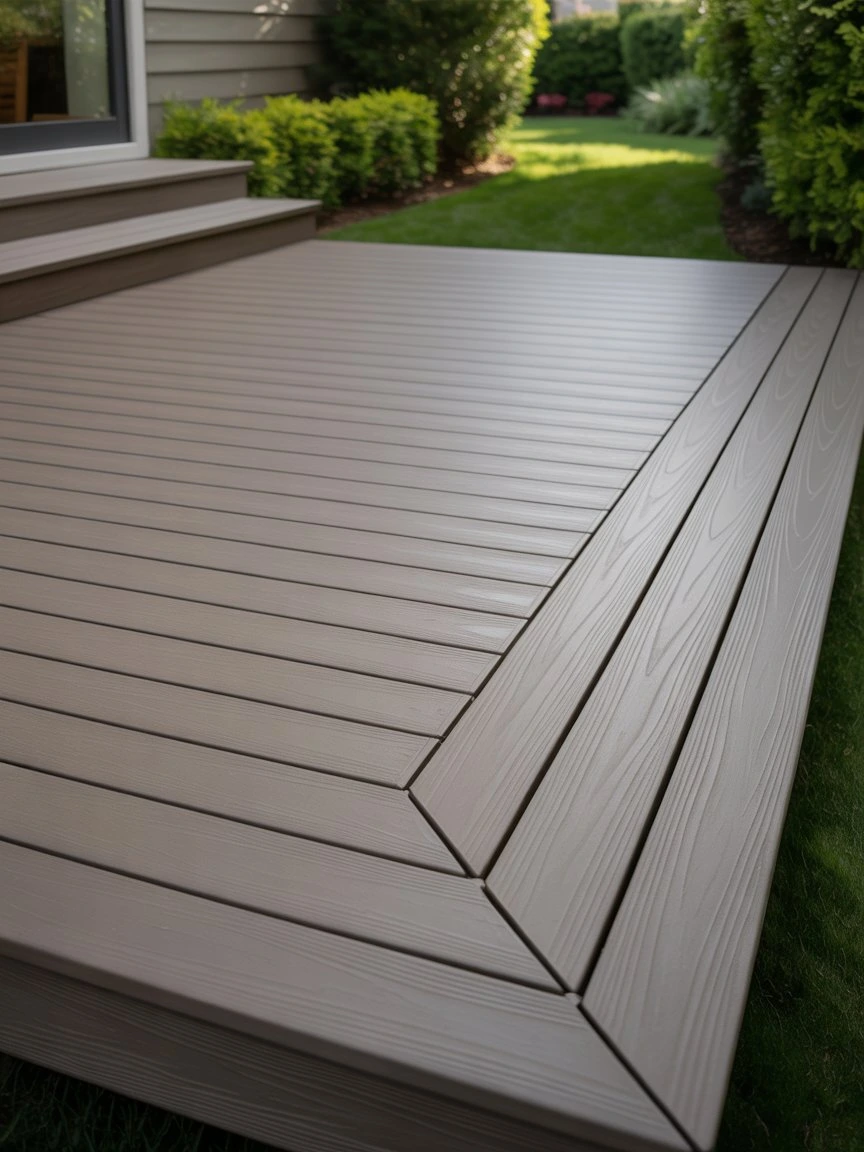
How can you protect joists to prevent the problem from returning?
Repairing the problem is not the whole story. Protecting the structure for the future is just as important. Without this, even a well-executed repair may prove to be only temporary.
1. Ensure there is a damp-proof barrier.
A layer to keep out moisture should be placed between the joist and the concrete or masonry. This could be strips of roofing felt, damp-proof membrane or other materials intended for this purpose. It is a simple detail, but it makes a huge difference.
2. Treat the wood.
Wood preservative protects against fungi, mould and insects, and offers some protection against fire. If you replace or reinforce joists, be sure to protect the new members with a suitable treatment product.
3. Reduce friction and noise.
Acoustic tape or flexible separators can be used where the joist meets the decking board or panel. This helps the floor move more quietly and prevents such annoying noises.
4. Ensure good ventilation.
A lack of airflow beneath the floor is asking for trouble. Effective ventilation helps maintain the correct moisture level in the wood and reduces the risk of mould or rot developing.
When should you not tackle it yourself?
Let’s be realistic—not every joist repair is suitable for DIY. If the problem involves load-bearing members or affects a large part of the floor, it is better to consult a professional. Call in a specialist if:
- the floor sags noticeably over a large area,
- you can see cracks in the joists or ceiling beams,
- the wood is soft, damp or crumbling,
- there are signs of insects or wood dust,
- the building is old, listed or has been altered previously,
- you are unsure whether the problem affects only the floor or the entire ceiling structure.
In these cases, it is best to have an experienced carpenter, joiner or structural engineer inspect it.
Common mistakes when repairing loose joists.
It is easy to make a few classic mistakes during this kind of work. The result is then a temporary fix rather than a proper repair. The most common problems are:
- concealing squeaks without addressing the cause,
- using makeshift wedges cut from scrap wood,
- failing to check the moisture content of the material,
- fitting new members without treating them,
- ignoring signs of rot or insects,
- not fastening reinforcing members securely enough.
Joist repairs should improve the stability of the structure, not just silence the floor temporarily.
FAQ – frequently asked questions.
Do loose joists always indicate a serious problem?Not always. Sometimes all that is needed is to tighten the decking boards or fill gaps. However, if there is sagging, moisture or damage to the wood, the problem may be more serious.
Can joists be repaired without lifting the entire floor?In many cases, yes. Much depends on access from underneath and the extent of the damage. With localised problems, partial intervention is often enough.
What is the best way to protect joists?The three most important things are damp-proofing, treating the wood and ensuring good ventilation in the space beneath the floor.
Does a squeaky floor always mean the joists are damaged?No. Squeaking can also be caused by friction between boards, loose joints or installation errors. Only a thorough inspection can establish whether the joists are to blame.

To sum up.
When joists start to move, it is not worth putting the matter off. At first, the problem seems minor—a little noise, slight sagging, small gaps. But over time, it can turn into a costly renovation of the entire floor. The sooner you identify the cause, the greater the chance that the repair will be simple, cheaper and less invasive.
The most important thing is this: do not just tackle the symptoms. Find out why the structure has lost stability, repair the damaged areas and make sure the wood is properly protected. This will make the floor quiet, rigid and safe to use again.
If you like, I can also prepare a second, more sales-focused version of this text, for example for a renovation company or carpenter’s website.
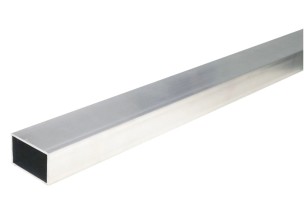
Aluminium decking joist "M" 30x40x2
Available lengths: 3m | 4m | 6m
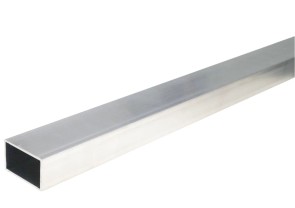
Aluminium decking joist "L" 40x80x2
Available lengths: 3m | 4m | 6m
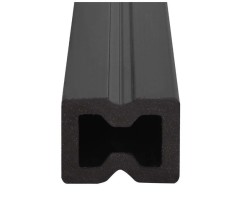
SELECT composite decking joist 30x40 (graphite) - 2m
30 x 40 x 2000
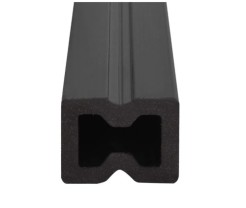
SELECT composite decking joist 30x40 (graphite) - 4m
30 x 40 x 4000