
How to assemble DIY composite decking on balconies and terraces: step by step.
Find out how to quickly and easily lay composite decking on a balcony or terrace – a step-by-step guide covering preparation, tools and the most common mistakes.

Fed up with the old, cracked tiles on your balcony? Or perhaps you’re looking for something that will transform the look of your patio in next to no time – without a renovation team or all the noise? Composite decking tiles DIY have been a hit in recent years! You can assemble them yourself in just a few hours – no drilling, no gluing and no specialist tools required. In this article, we’ll show you exactly how to assemble composite decking tiles on balconies and patios so they look good, last and serve you well for many years.
What are composite decking tiles?
Composite decking tiles are ready-made modules made from WPC (Wood Plastic Composite) panels, mounted on a plastic grid. Thanks to the ‘click’ system, they connect to one another without the need for screws or adhesive.
Advantages of composite decking tiles:
- Quick and easy installation,
- Can be taken apart and reassembled,
- Weather-resistant,
- The attractive appearance of wood without the need for maintenance,
- Ideal for a balcony or patio – even a rented one!
Tools and materials for installing composite decking tiles.
Although installation is straightforward, it’s worth getting a few things ready beforehand:
Tools:
- Tape measure,
- Pencil or chalk,
- Hand saw or jigsaw (optional, for cutting to size).
Materials:
- Composite decking tiles (calculate the area and add 5–10% extra),
- Finishing trims (optional),
- Wedges or rubber pads (if the balcony slopes).
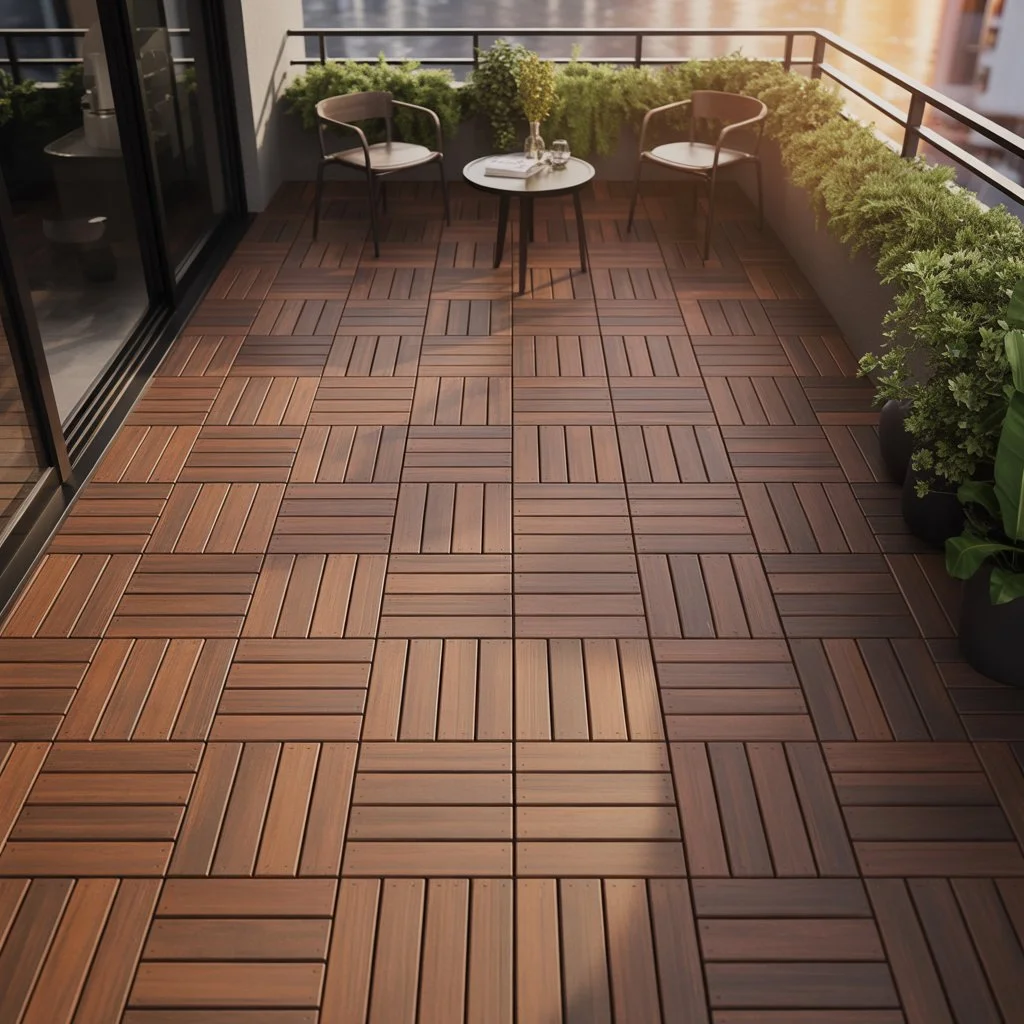
Step by step – installing composite decking tiles DIY.
1. Check and prepare the surface.
- The surface should be level, dry and stable – ceramic tiles, concrete or a screed are ideal.
- Make sure the surface has no loose sections or large gaps.
- If necessary, clean dust and greasy marks from the floor.
2. Plan the layout.
- Start at a corner of the balcony or patio.
- Decide whether the tiles will be laid in one direction or, for example, alternately to create a more interesting pattern.
- Lay out the first row as a trial, without clicking the tiles together, to make sure everything fits.
3. Connecting the tiles – the ‘click’ system.
- Each tile has clips that slide into the next pieces.
- Simply press the tiles together until you hear the characteristic ‘click’.
- Lay the remaining rows one after another.
4. Cutting the final tiles to size.
- If a tile won’t fit at the end of a row, measure the space carefully.
- Cut it with a hand saw or jigsaw (preferably along the grid so it still fits the click system).
5. Finishing touches.
- Use side trims or end caps, if offered by the manufacturer – this will give the whole installation a more elegant finish.
- You can also apply flexible silicone along the edges to prevent dirt from collecting.
How to care for composite decking tiles?
This is one of their biggest advantages – they’re incredibly easy to care for!
- Sweep away dust, leaves and sand regularly.
- Wash with warm water and a mild detergent.
- Avoid strong chemicals and using pressure washers at close range.
- You can leave the tiles in place over winter – they’re frost-resistant, but it’s worth protecting them with a tarpaulin.
Common mistakes and how to avoid them.
- Not planning the layout – can result in too much waste or not enough material.
- A dirty surface – can reduce grip and stability.
- No expansion gap by the walls – remember to leave a 0.5–1 cm gap from the walls; the composite material ‘moves’ as temperatures change.
- Cutting away too much – don’t cut the grid where it would prevent further connections.
Why choose decking tiles instead of traditional panels?
| Composite decking tiles | Composite panels for screw fixing |
|---|---|
| Tool-free installation | Requires joists and screws |
| Can be dismantled | Permanent installation |
| Ideal for rented properties | Better for permanent terraces |
| Modular design | Boards cut to length |
| Appearance and convenience | Durability and strength |
Summary – what next?
As you can see, assembling composite decking tiles as a DIY project is a really simple and quick way to refresh your balcony or terrace. No professionals, no mess and no noise. In just one weekend, you can turn an old balcony into a cosy place to relax!
Composite panels (or rather, decking tiles!) are an investment in comfort, appearance and a modern style – do it yourself and enjoy the results for years to come.
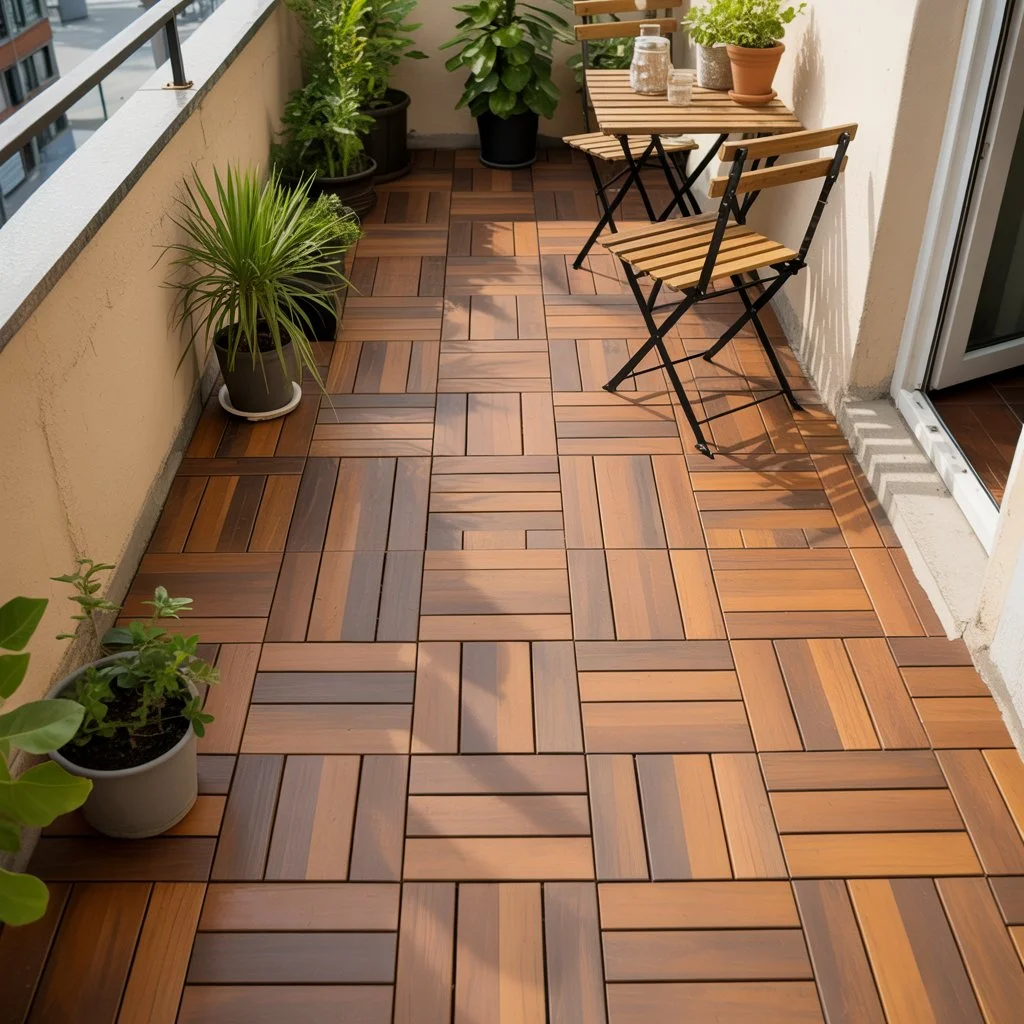
Frequently asked questions (FAQ).
Can composite decking tiles be laid over old tiles?
Yes! This is one of the best solutions if you don't want to remove the old surface.
Can they be laid on an uneven balcony?
Minor unevenness is fine, but larger differences should be levelled out with rubber mats or pads.
Are the decking tiles resistant to rain and snow?
Yes. WPC composite is resistant to moisture and changing weather conditions.
Can they be dismantled and moved somewhere else?
Of course! This is one of the system's greatest advantages.
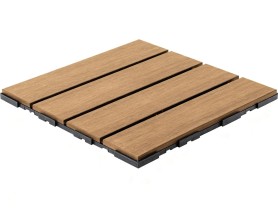
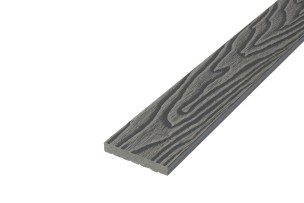
DUO Composite skirting trim 10x70x4000
Available in 5 trim colours
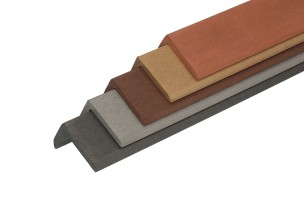
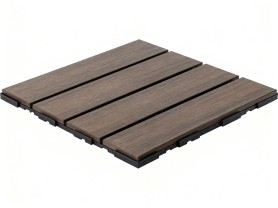
DUO Composite corner trim 60x40x4000
Available in 5 trim colours