DIY paintable slats – Make them your own! Unique wall decorations, step by step.
Discover how to create your own DIY paintable slats. Ideas, inspiration and step-by-step instructions to transform your walls and add character to your interiors!
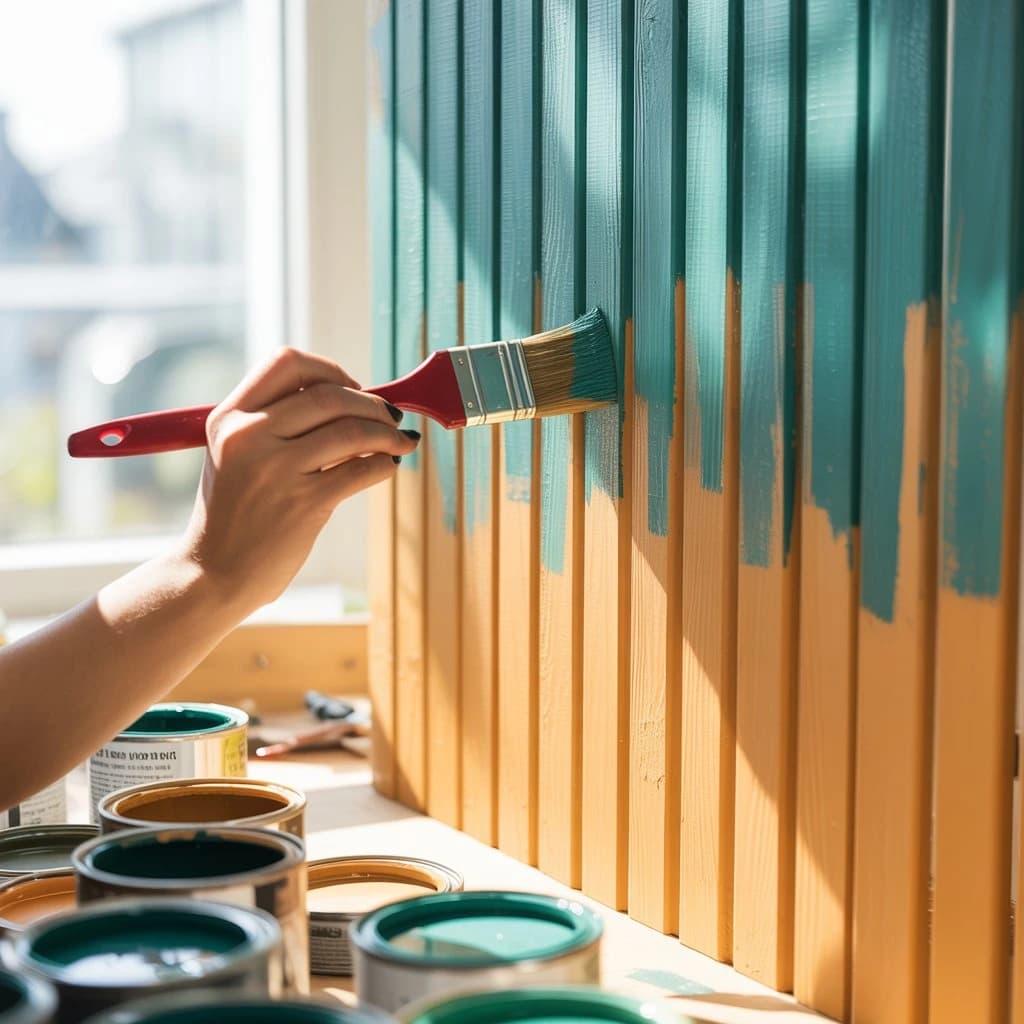
Would you like to breathe new life into your interior without spending a fortune? You’re in luck! DIY paintable slats are a great way to turn an ordinary wall into a real work of art. What’s more, you can do it yourself, in your own style and without having to hire professionals. In this post, I’ll show you how to design, prepare and install your own wall slats, step by step – with paint, creativity and plenty of satisfaction!
Why are DIY decorative slats an interior design hit?
Let’s start with the basics. What exactly are slats?
They are thin, vertical strips fitted to walls – usually made of wood, MDF or plastic – that serve a decorative purpose, as well as helping with acoustics. We’re seeing them increasingly often in modern interiors: in living rooms, bedrooms and even hallways.
And here’s the best part – you can make them yourself! Painted DIY slats:
-
add character to any interior,
-
are an affordable alternative to ready-made solutions,
-
allow complete personalisation – colour, layout and texture,
-
require no specialist tools.
What will you need? A list of materials and tools.
Before you get started, prepare everything you might need. Here’s a list of essentials:
| Materials: | Tools: |
|
Wooden or MDF strips (e.g. 2x3 cm, 2x4 cm), |
Paintbrush and roller, |
| Paint (acrylic, oil-based or wood stain), | Spirit level, |
| Paint primer, | Tape measure, |
| Grab adhesive or screws, | Hand saw or jigsaw (if cutting them yourself), |
| Masking tape, | Drill (if installing with screws), |
| Sandpaper, |

Step by step: How to make DIY paintable slats.
1. Plan your design.
Before you even pick up a paintbrush, take a moment to think. Measure the wall and decide how many strips you want and how far apart to place them. Choose a colour scheme – subtle or perhaps bold? Black slats work beautifully in loft-style interiors, while white or pastel shades suit Scandinavian style.
Pro tip: Sketch your design on paper or in a simple graphics programme.
2. Prepare the strips.
Sand each strip with fine-grit sandpaper – this helps the paint adhere better and leaves the surface smooth. Then vacuum them and wipe them with a damp cloth.
3. Priming and painting.
Apply primer – this is important, especially if you’re working with MDF or untreated wood. Once it has dried, you can start painting. Use a roller for an even finish, or a paintbrush if you want to add a ‘brushstroke’ texture.
Paint the strips on all sides, especially if they won’t sit flush against the wall.
Idea: Want something unusual? Paint each strip a different shade of the same colour (for an ombré effect!) or create a colour gradient from floor to ceiling.
4. Wall installation.
You have two options here: grab adhesive (quick and clean) or screw mounting (stable and durable). First mark a starting line with a spirit level, then start attaching the slats, keeping equal gaps between them. You can use spacers, e.g. made from cardboard, to make the job easier.
If you are planning to mount them with screws, first drill holes in the slats and the wall, then fit the wall plugs and tighten the screws.
Ideas for unique wall decorations made from slats.
Want to make things even more interesting? Here are some ideas to inspire you:
1. Colourful vertical stripes.
Paint the slats in several contrasting colours and arrange them on the wall in a rhythmic pattern – for example, make every other slat a different colour.
2. A green wall with slats.
Combine wood with nature – attach artificial plants or preserved moss between the slats. The “green wall” effect is guaranteed!
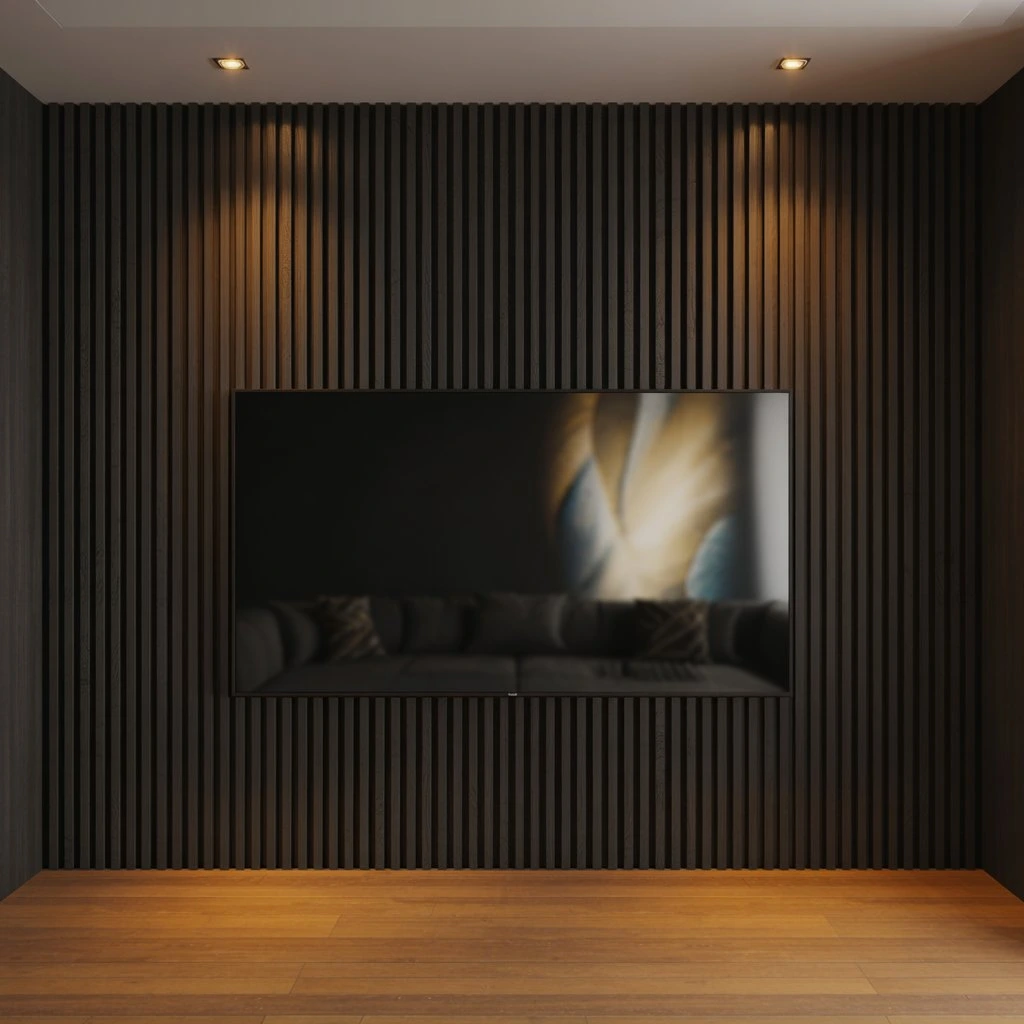
3. Slats as a backdrop for a TV or photo gallery.
They make a great designer backdrop for a television, mirror or framed posters.
4. 3D effect.
Instead of mounting the slats flat against the wall, attach them at an angle or at different depths. You’ll create an interesting texture and play of light.
5. Boho or retro style.
Use warm, muted colours such as terracotta, sage or mustard. Add woven decorations or macramé.
To finish: time to get started!
DIY slats to paint are not only great fun, but also a way to bring something unique and personal into your home. Whether you choose classic black, natural wood or a colourful design, you’re sure to love the result.
Make it your own. Give your walls a voice. And don’t be afraid to experiment – that’s where all the magic of DIY lies!
Frequently asked questions (FAQ).
1. Are DIY slats durable?
Yes, provided you protect them properly – for example, with varnish or durable paint. When mounted with screws, they stay very firmly in place.
2. Can ready-made slats from a shop be painted?
Of course! Just sand them lightly, apply a primer and paint them.
3. Are slats suitable for every room?
Yes, but remember – in damp areas (the bathroom or kitchen), MDF or plastic slats and moisture-resistant paint are the best choice.
4. Is it difficult to install slats?
No – with the right plan and tools, it’s a job that takes 1-2 days.
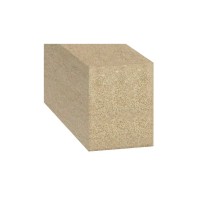
DIY slat – slat to paint yourself 30x40 mm
An alternative to classic slats
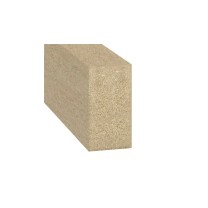
DIY slat – slat to paint yourself 16x30 mm
An alternative to classic slats
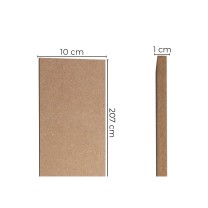
DIY slat – slat to paint yourself 10x100 mm
An alternative to classic slats