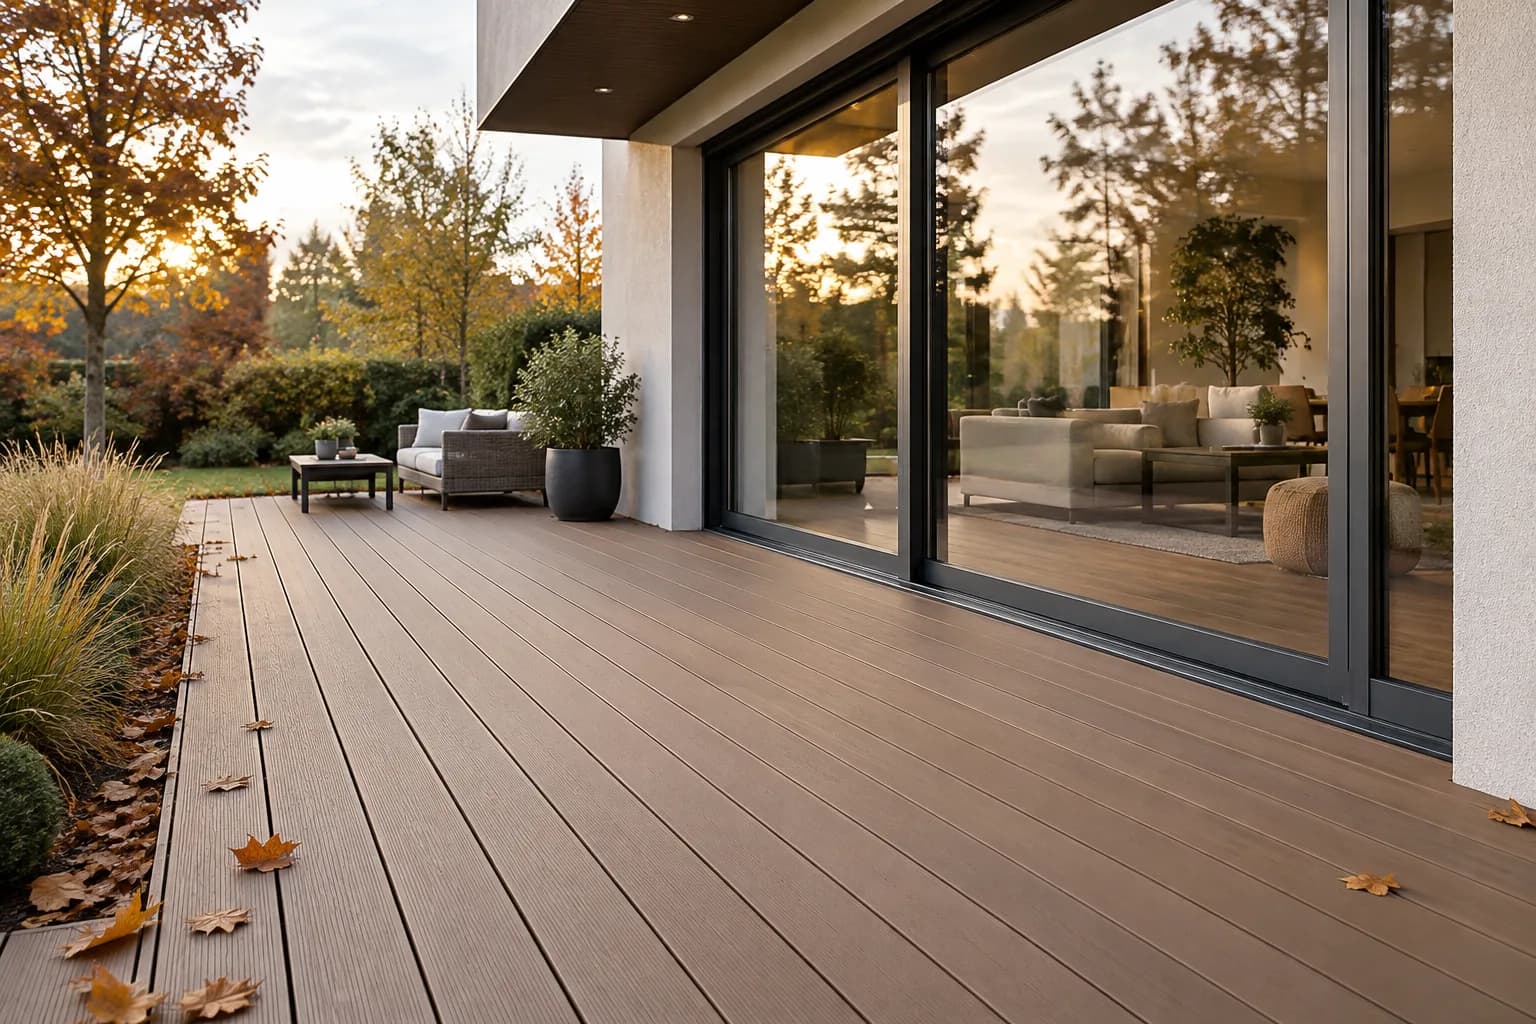
Installing composite fence panels step by step 2026
Would you like to install a composite fence yourself? Check out our step-by-step guide! Find out how to prepare the ground, allow for expansion gaps and install WPC panels.

A modern fence in one weekend? Installing composite fence panels step by step
Looking for a fence that perfectly combines the natural beauty of classic timber with the functionality of modern plastics? Composite (WPC) fencing is an excellent choice for any investor. This material is exceptionally resistant to rainfall, severe frost and prolonged exposure to sunlight, so it does not fade or crack over the years. Forget the tedious annual scraping, costly painting or regular preservative treatment required for traditional fence panels.
What will you need? Shopping and tools list
Before starting any ground or installation work, make sure you have all the key system components and the right equipment on site. To build a composite fence efficiently, you will need:
- Fence system components: composite decking boards in your chosen width, matching posts (steel, aluminium or composite), post caps to fit, as well as system starter and finishing strips and reinforcement profiles.
- Measuring and installation tools: an accurate, long spirit level, a standard tape measure, a chalk line, a powerful drill driver and a mitre saw or hand saw with a blade for accurately cutting composite and metal.
- Building materials for stabilisation: bags of rapid-setting concrete (if setting the posts directly in the ground) or sturdy steel post supports and strong screws (if fixing the structure to an existing foundation).
Step 1: Careful planning and site preparation
In construction, haste can be a poor adviser, so carefully measuring the entire plot is the key to success. Start by marking out the fence line, stretching a chalk line between the key boundary points (e.g. the corners of the property).
Next, establish the exact spacing between the posts. Remember that the distance between the post centre lines must correspond exactly to the length of the panels, allowing a few millimetres of expansion clearance. As an organic polymer material, composite moves slightly—it expands and contracts as temperatures fluctuate. Finally, thoroughly clear the strip of ground, removing any stones, branches and roots.
Step 2: Correct post installation – the foundation is key
The posts form the structural framework of the entire system, and the fence's long-term durability depends on their stability. Depending on your situation, choose one of these two proven methods:
Method A: Setting directly in the ground - Drill holes about 30 cm in diameter and below the ground's frost line, which in Poland is 80 to 120 cm. Place a post in each hole, level it vertically and fill the hole with rapid-setting concrete, continually checking its position. It is a good idea to brace the structure with timber battens until the mortar has dried completely.
Method B: Installation on an existing foundation - If you already have a concrete foundation, use special steel post supports. Securely bolt them to the concrete using durable chemical or mechanical anchors, then carefully slide the fence post profiles over them.
Important installation tip: Regularly check that the posts are vertical with a spirit level and verify the distances between them, both at the bottom and at the very top. Any misalignment will make it impossible to slide the boards in later.
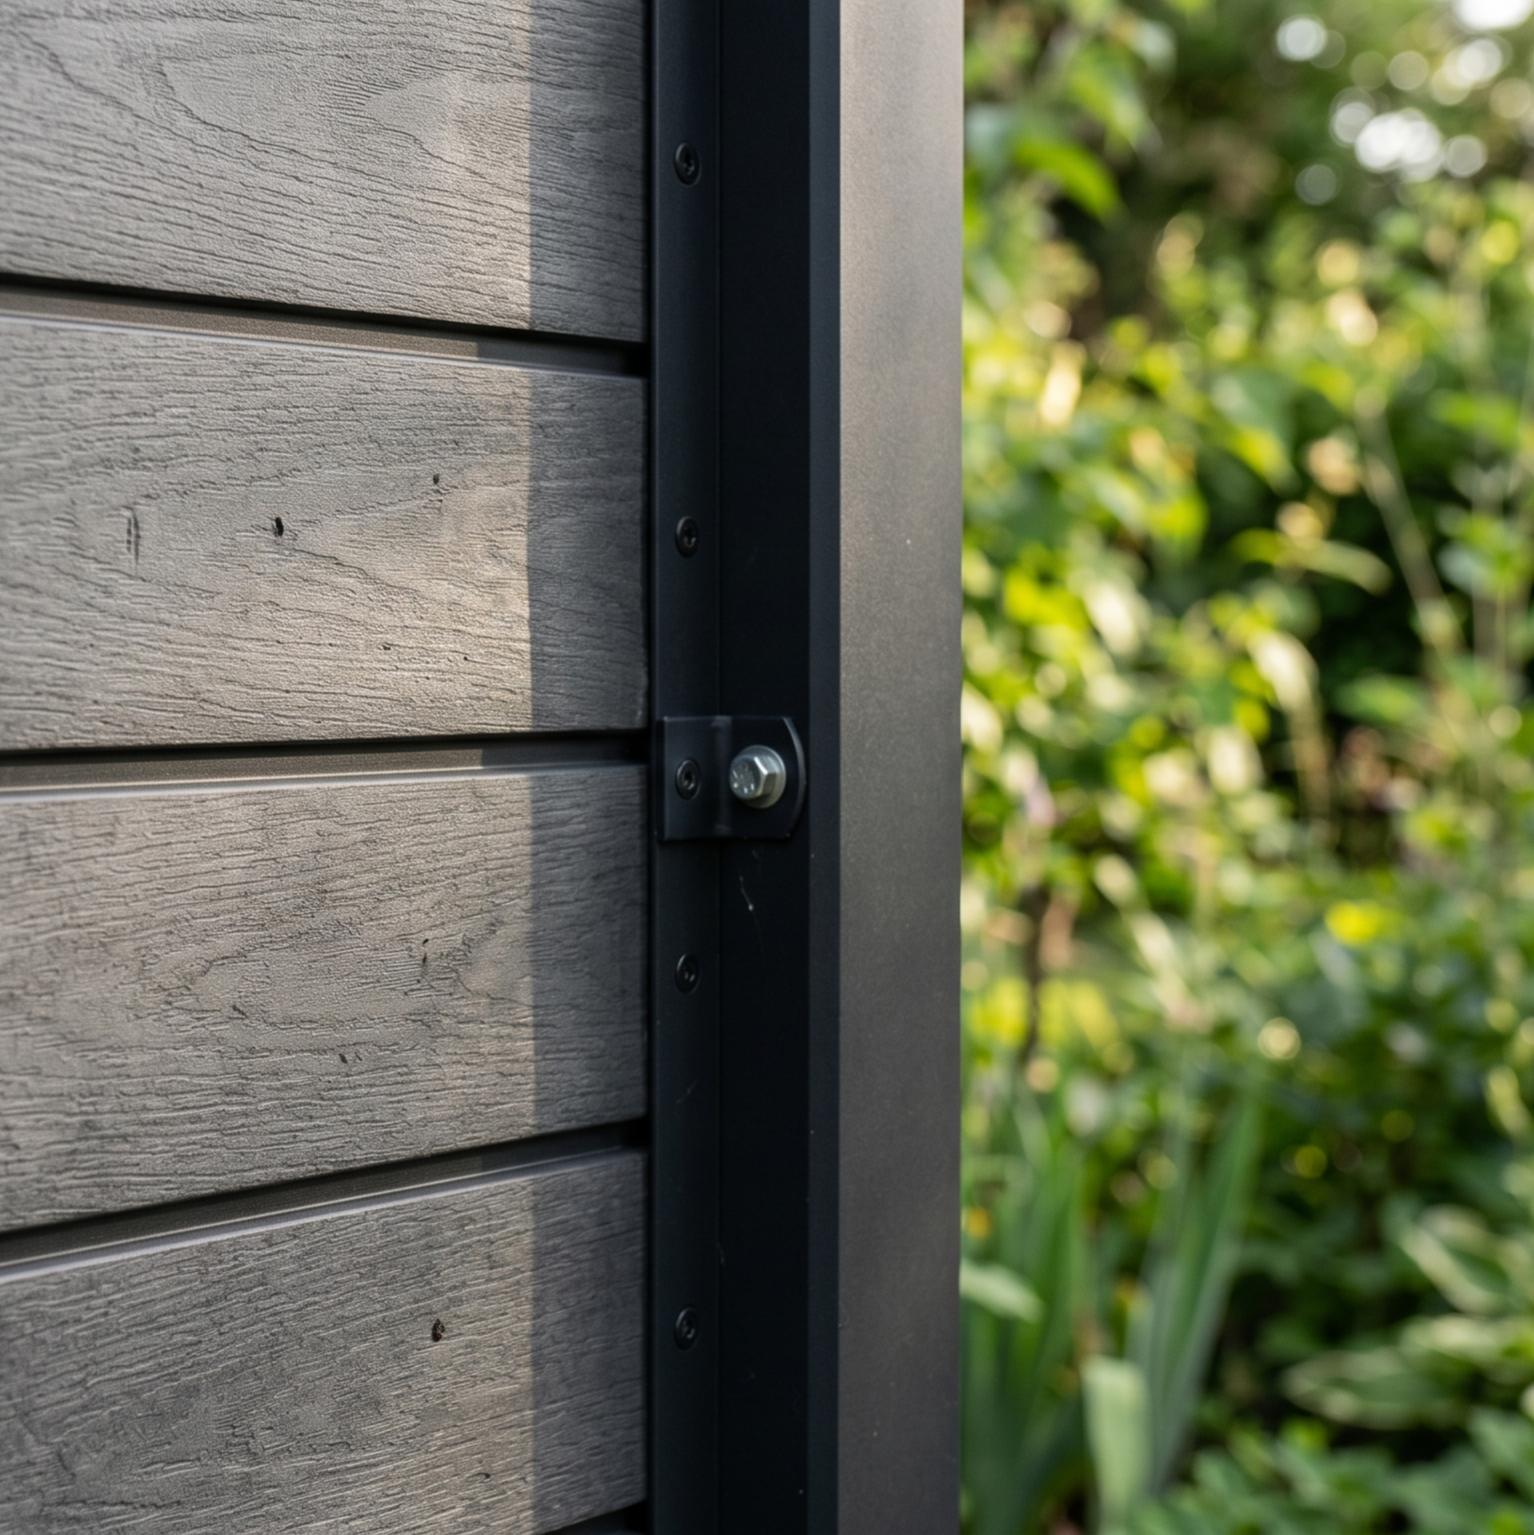
Step 3: Installing the starter profiles and first boards
Once the concrete has fully set, it is time to install the composite components. Most systems use a simple tongue-and-groove arrangement. Start by fitting the starter profile at the very bottom. It will hold the first board at the right height above the ground and prevent it from coming into contact with damp soil.
Slide the first board into the grooves in the posts. Make sure it is perfectly level. This is a fundamental step—if the first board is crooked, the entire panel will start to drift and the slope will become more pronounced further up.
Step 4: Laying and joining the composite components
Slide the remaining boards in one after another, ensuring they fit together correctly. Always leave about 3 to 5 mm of clearance inside the post profile on each side of the board—never force the panels all the way to the end of the groove.
For long panels exceeding 150 cm in length, use steel or aluminium reinforcement profiles, which should be slid inside the composite to protect it from deformation under wind pressure.
Step 5: Finishing work and care
Finally, fit the top finishing strip to neatly close off the system and protect the inside of the boards from rainwater. On top of the posts fit the protective caps, securing them by pushing them on or using a small amount of frost-resistant assembly adhesive.
Your fence is now ready! In the years to come, all it will need is an occasional rinse with water from a garden hose or pressure washer.
FAQ.
How do you care for a composite fence after installation?
Composite fences are valued because they do not require any impregnation, oiling or painting. Maintenance is limited to occasional cleaning. To remove dust, mud or rain marks, water from a pressure washer or a traditional garden hose with a mild cleaning agent (e.g. washing-up liquid) is sufficient.
How much expansion clearance should be left during installation?
It is recommended to leave around 3 to 5 mm of expansion clearance on each side of the board inside the post profile. Composite contains polymers and wood fibres, so it reacts slightly to temperature changes (expanding in hot weather and contracting in frost). A lack of expansion clearance may cause the entire panel to bend and deform.
Does a composite fence require a plinth?
No, a plinth is not necessary. You can successfully set the fence posts directly in concrete in the ground (below the frost line). However, a plinth is recommended if you want to visually raise the fence, level out significant changes in ground level on your plot, or screen yourself from tall grass and moisture from the neighbouring property.
How much expansion clearance should be left during installation?
It is recommended to leave around 3 to 5 mm of expansion clearance on each side of the board inside the post profile. Composite contains polymers and wood fibres, so it reacts slightly to temperature changes (expanding in hot weather and contracting in frost). A lack of expansion clearance may cause the entire panel to bend and deform.
Summary.
Installing a composite fence yourself is a great way to save thousands of złoty on labour and a hugely satisfying achievement. The result is a modern, minimalist space that will stand the test of time.

DUO composite system for a 50m2 terrace - GRAPHITE
DUO composite system designed for a terrace measuring 5m x 10m
SELECT composite system for a 50m2 terrace - Honey
Composite system designed for a terrace measuring 5m x 10m
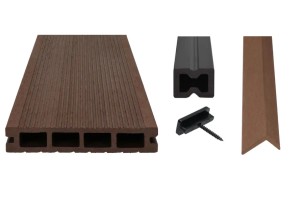
SELECT composite system for a 30m2 terrace - Chocolate
Composite system designed for a terrace measuring 5m x 6m
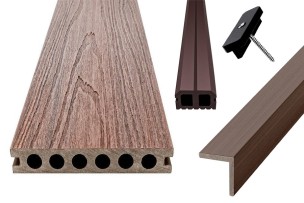
PREMIUM composite system for a 20m2 terrace - DARK BROWN
PREMIUM composite system designed for a terrace measuring dimensions 4m x 5m