Top 5 Mistakes When Installing Wall Slats – How to Avoid Them Step by Step
Planning to install wall slats? Check out the 5 most common mistakes and find out how to install them evenly and securely, without the stress.
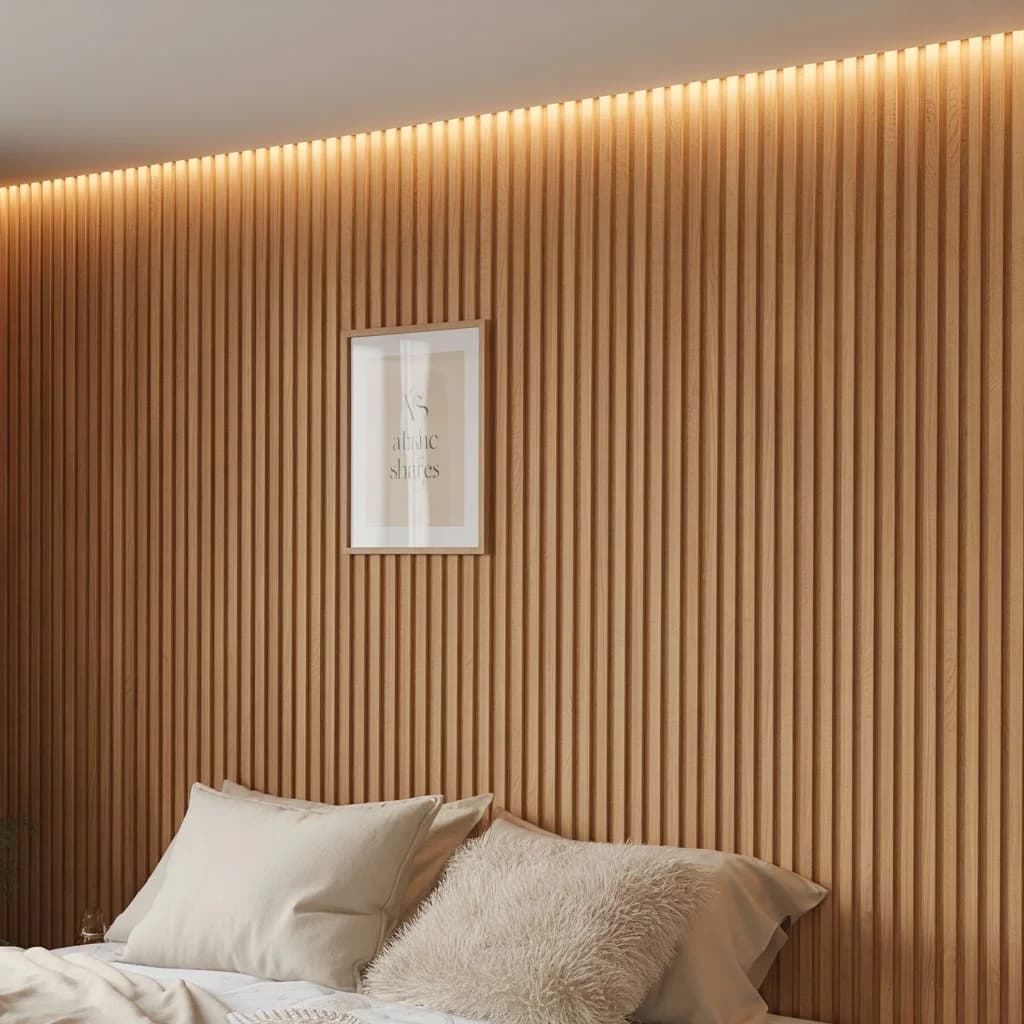
Wall slats are currently one of the hottest trends in interior design. Their stylish appearance, straightforward installation and ability to visually transform any room mean that more and more people are choosing this decorative feature. But be warned – although installation may seem simple, costly mistakes are easy to make in practice.
So before you reach for the spirit level and mounting adhesive, find out what pitfalls await the unwary DIYer. Below, we present the 5 most common mistakes and explain how to install wall slats without stress or hassle.
1. Not preparing the wall properly.
Although installing wall slats does not require specialist tools, you may soon regret your decision if the wall has not been prepared properly.
The most common mistakes:
-
Installing wall slats on dirty, greasy or uneven surfaces
-
Ignoring the need to prime the wall
-
Applying adhesive without checking the substrate's load-bearing capacity
How can you avoid this?
Always start by thoroughly cleaning the wall. Wash it and remove dust, grease and paint residue. Then prime the surface, especially if it is bare plaster or concrete. This will help the wall slats stay firmly in place and prevent them from coming off after a few days.
2. Failing to measure and level accurately.
The look of slats is all about symmetry and regularity. Crookedly attached wall slats are more noticeable than a badly painted wall.
What can go wrong?
-
Installing them by eye, without a spirit level
-
Incorrectly measuring the gaps between slats
-
Not planning the layout of the slats across the whole wall
Pro tip:
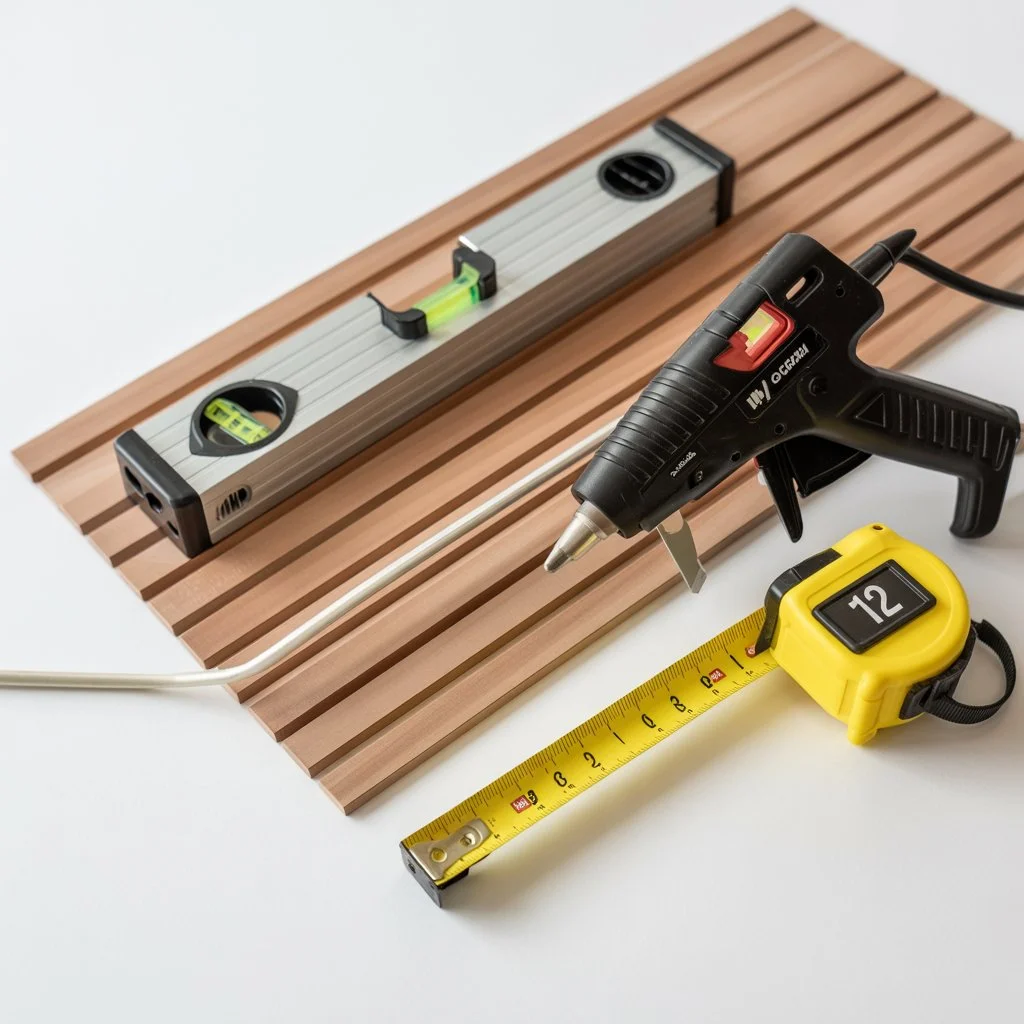
Start by measuring the wall accurately – its width and height, and the area where you want to install the wall slats. Draw a layout or do a dry run. Invest in a spirit level or laser level, which will make it much easier to install the slats evenly.
3. Choosing the wrong mounting adhesive.
This is one of the most common mistakes, especially among beginners. Not every adhesive is suitable for wall slats!
Typical mistakes:
-
Using tile adhesive, silicone or another unsuitable product
-
Using too much adhesive – it oozes out and makes a mess
-
Applying adhesive without first testing it on a section of the wall
How do you choose the right adhesive?
It is best to use mounting adhesive intended for wood or MDF, which bonds well to plaster, brick, concrete or plasterboard. Apply it evenly (for example, in strips along the slats), but do not overdo it – too much adhesive may ooze out and make a mess of the whole job.
4. Not maintaining even gaps and symmetry.
Wall slats are not just decoration; they are also about geometry and rhythm. Incorrectly spacing the slats is a quick way to ruin the whole visual effect.
What could happen?
-
Uneven gaps between slats
-
Lack of symmetry in relation to the centre of the wall
-
A sense of “chaos” instead of harmony
The solution?
Make a template from cardboard or plywood to help you maintain even gaps. You can also mark the installation positions with a pencil or masking tape. And if you are installing slats only on part of the wall – make sure it is centred for a pleasing appearance.
5. Rushing and a lack of patience.
That’s right… the last point, but a very important one – rushing! Many people don’t give the adhesive enough time to set, or speed up the installation by skipping steps.
The consequences?
-
Slats coming loose after a few days
-
Misalignment when fitting subsequent elements
-
The need for corrections and extra work
What should you do?
Take your time. Hold each slat in place for a few moments after applying it, before letting go. Don’t install everything at once – it’s better to work in stages and let the previous slats bond properly. It’s also worth remembering that some adhesives have a setting time of up to 24 hours.
Extra tips from the professionals:
-
Always start installation from the centre of the wall – this will give you better symmetry.
-
If you have slats with LED lighting, plan the cables in advance.
-
Use masking tape to hold the slats temporarily in place.
-
If you’re worried about fixing them permanently with adhesive, you can use mounting battens or profiles.
What should you avoid at all costs?
- Applying slats to a damp or freshly painted wall
- Cutting slats shorter without the right equipment – this could leave a ragged edge
- Mixing different slat models – differences in shade may be very noticeable
- Having no plan – spontaneous decisions often end in... disaster 😅
FAQ – Frequently asked questions about installing wall slats
1. Can wall slats be installed by yourself?
Yes! It’s a DIY project that anyone can complete with a little patience and a good plan.
2. Which adhesive is best for wall slats?
It’s best to choose a strong assembly adhesive for wood/MDF, such as Soudal, Mamut or Tytan Professional.
3. Are wall slats suitable for bathrooms?
Only those protected against moisture, such as PVC or MDF slats with a waterproof coating.
4. Can slats be fixed to the ceiling?
Yes, but extra support is recommended – for example, screws or supporting battens.
To sum up, before you pick up the drill…
Wall slats are a great way to add character to any interior. However, to enjoy their appearance for years to come, you need to approach installation thoughtfully. Avoid common mistakes: prepare the surface, measure accurately and choose the right adhesive. Above all – don’t rush.
If you follow the tips above, the final result will be not only attractive but also durable!
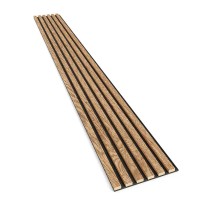
Oak veneer slats on felt 24x300 mm, decorative wall battens on felt
Price is for one slat
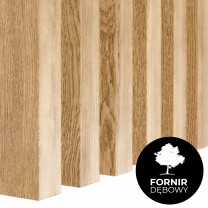
Natural oak veneer wall slats 30x40 mm – decorative wall battens
Price is for one slat
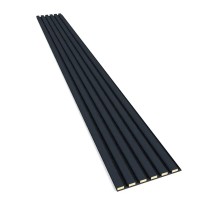
Anthracite felt-backed wall slats 24x300 mm decorative wall strips on felt
Price is for one slat
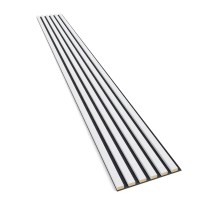
White felt-backed wall slats 24x300 mm decorative wall strips on felt
Price is for one slat